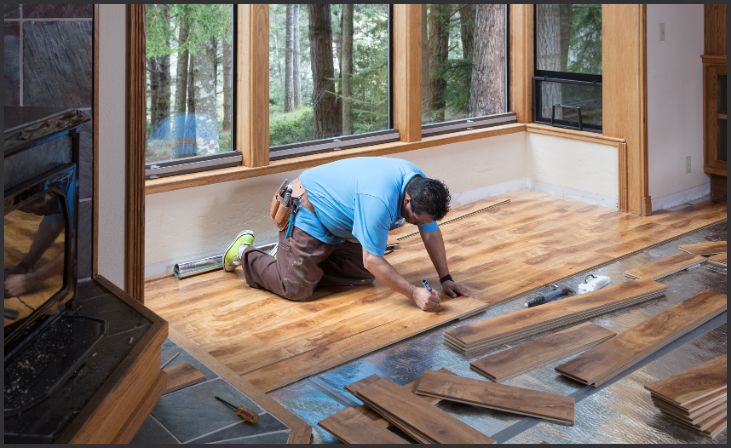
How To Level a Floor for Hardwood Installation – Achieving a level floor surface is critical for a successful hardwood installation. Uneven floors can lead to various issues such as gaps, squeaks, and premature wear of the flooring material. In this guide, we’ll outline the necessary steps to ensure your floor is properly leveled before laying down hardwood.
Firstly, we’ll discuss the importance of leveling a floor, emphasizing the impact it has on the durability and aesthetics of your hardwood floor. Then, we’ll provide an overview of the steps involved in the leveling process, highlighting the key considerations at each stage.
Whether you’re dealing with minor imperfections or significant unevenness, addressing these issues beforehand will save you time, money, and frustration in the long run. By following the steps outlined in this guide and using the appropriate tools and materials, you’ll be able to achieve a smooth and level surface ready for hardwood installation, ensuring a professional and long-lasting result for your home or project. Let’s dive into the details and get your floor ready for its hardwood makeover.
How To Level a Floor for Hardwood Installation
Assess the Current Floor:
Before beginning any leveling process, it’s crucial to thoroughly inspect the existing floor surface. Using a straightedge or laser level, identify areas that are higher or lower than the desired level. Pay close attention to corners, edges, and transitions between rooms, as these areas are prone to unevenness..
Also, Read – Types of Floor Sanders You Can Use for Hardwood Floor Refinishing
Clean the Floor:
Start by removing any debris, dust, or old flooring material from the surface. Sweep or vacuum the floor thoroughly to ensure it’s free of any loose particles. Additionally, use a damp mop to clean off any stubborn stains or residues. A clean surface will provide a better bond for leveling compounds and ensure accurate leveling results.
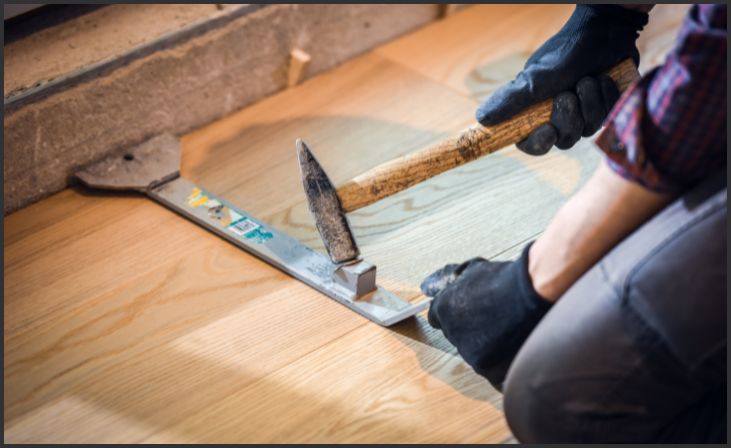
Fill Gaps and Holes:
Inspect the floor for any gaps, cracks, or holes that need to be filled before leveling. Use an appropriate filler material such as a self-leveling compound for larger gaps or cracks. For smaller imperfections, wood filler or epoxy-based fillers can be used. Apply the filler according to the manufacturer’s instructions, ensuring it’s level with the surrounding surface.
Sand High Spots:
High spots on the floor can be sanded down to achieve a more even surface. Use a belt sander or floor grinder with a coarse grit sandpaper to gradually remove the excess material. Work in small sections, moving the sander back and forth in smooth, even strokes. Take care not to oversand or create low spots in the process.
Check for Moisture:
Moisture levels in the subfloor can affect the performance and longevity of hardwood flooring. Use a moisture meter to measure the moisture content of the floor before proceeding with leveling. High moisture levels can lead to warping, buckling, or mold growth in hardwood flooring. Address any moisture issues by improving ventilation, installing a vapor barrier, or using moisture-resistant materials.
Install Leveling Compound:
Self-leveling compound is a popular choice for correcting uneven floors. Mix the compound according to the manufacturer’s instructions, ensuring a smooth and lump-free consistency. Pour the compound onto the floor in small sections, starting from the lowest point and working towards the edges. Use a trowel or squeegee to spread the compound evenly, making sure to fill any low spots or depressions.
Spread the Compound:
Once the leveling compound is poured onto the floor, use a trowel or squeegee to spread it evenly across the surface. Work quickly but methodically, smoothing out any ridges or uneven areas as you go. Pay special attention to corners and edges, ensuring they are adequately filled and leveled. Avoid overworking the compound, as this can affect its ability to self-level properly.
Allow Drying Time:
After applying the leveling compound, allow sufficient time for it to dry and cure completely. The drying time can vary depending on the product used, environmental conditions, and thickness of the application. Typically, self-leveling compounds require at least 24 hours to dry before the floor can be walked on or further worked on. Avoid disturbing the compound during the drying process to prevent unevenness or cracking.
Check for Levelness:
Once the leveling compound has dried, use a straightedge or level to check the surface for any remaining uneven areas. Place the straightedge in various locations across the floor, checking for gaps or rocking. If any low spots or imperfections are found, mark them for further attention.
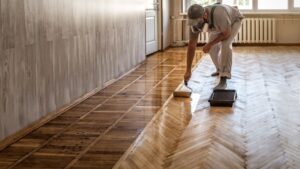
Sand or Grind as Needed:
If there are still uneven spots or imperfections on the floor after the leveling compound has dried, additional sanding or grinding may be necessary. Use a floor sander or grinder with a fine grit sandpaper to carefully smooth out any remaining rough areas. Work gradually, checking the levelness of the floor frequently to avoid overcorrection. Once the floor is uniformly smooth and level, it’s ready for hardwood installation.
Conclusion
In conclusion, properly leveling your floor is essential for a successful hardwood installation. By following the steps outlined in this guide and using the appropriate techniques and materials, you can ensure a smooth and level surface that will enhance the durability and beauty of your hardwood flooring.
Take the time to assess your floor, choose the right leveling method, and double-check for accuracy before proceeding with installation. Investing in proper preparation will ultimately result in a professional finish and a floor that stands the test of time.
FAQs
How do I know if my floor needs leveling before installing hardwood?
You can use a straightedge or level tool to check for unevenness. If you notice gaps or dips in the floor surface, it likely needs leveling before hardwood installation.
Can I install hardwood flooring on an uneven floor?
It’s not recommended as it can lead to issues like squeaking, gaps, and premature wear of the flooring. Leveling the floor ensures a stable and long-lasting foundation for hardwood installation.